Kitchen Backsplash Installation Cost Guide For Every Budget
Grease stains creeping up your walls, despite your best scrubbing efforts? Before you start stressing over a full remodel, it helps to get a clear picture of what a kitchen backsplash installation actually costs, and how to do it without blowing your budget.
What Really Drives The Cost Of a Kitchen Backsplash
Before you start browsing color swatches, it is essential to grasp the math behind the renovation.
The final bill is rarely just the tile's sticker price; it is driven by three main variables: material selection, total square footage, and installation complexity. While a standard running bond pattern is straightforward, opting for a herringbone layout or intricate mosaics dramatically increases the precision and time required.
The physical landscape of your kitchen plays a massive role. Navigating multiple electrical outlets, fitting tile under window sills, and edging around custom cabinetry increase the difficulty and the total investment. You must also consider the condition of the existing wall—does the old tile need to be removed, or is the drywall pristine?
According to the National Association of the Remodeling Industry (NARI), kitchen upgrades consistently offer high ROI, often recouping a significant percentage of costs upon resale. However, keeping the overall kitchen backsplash cost within reasonable bounds requires balancing your aesthetic preferences with the coverage area. Tiling a compact strip behind the range is a vastly different financial commitment than wrapping an entire U-shaped kitchen. To help you budget effectively, let’s analyze where your money actually goes, starting with the most visible variable: the raw materials.
Material Price Breakdown: Tile, Glass, And Metal
The material you select acts as the primary lever for your budget. Costs can range from the price of a fast-food meal to that of a fine-dining experience, measured per square foot.
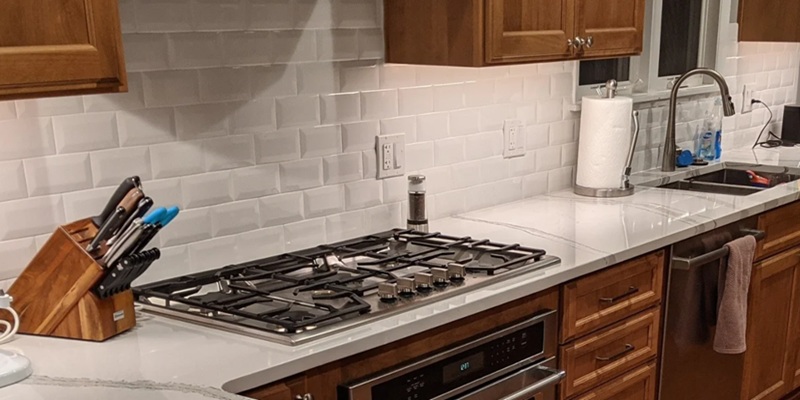
Ceramic and Porcelain: The Budget-Friendly Champions. If you are looking to maximize value without sacrificing style, ceramic and porcelain are your best bets. These materials are durable, non-porous, and incredibly versatile, available in endless colors and textures. You can typically find high-quality subway tiles or standard squares ranging from $2 to $10 per square foot. Beyond just the sticker price, the tile backsplash installation cost tends to be lower with these options because they are easier to cut and do not require specialized sealing or delicate handling. This makes them the standard for a reason: they offer a high-impact look with low financial risk, allowing you to allocate funds elsewhere in the kitchen.
Glass Tile: The Modern Mid-Range Stepping up in price, glass tiles offer a luminous, modern aesthetic that reflects light and visually expands the kitchen. Prices generally range from $7 to $30 per square foot, depending on whether you choose large-format sheets or intricate mosaics. While beautiful, glass requires a more meticulous installation process. The material's transparency means the adhesive (thin-set) behind it must be smoothed perfectly to avoid visible trowel marks, and cutting glass without shattering it requires specialized diamond blades. Consequently, the waste factor is higher, requiring a larger order buffer than for ceramic.
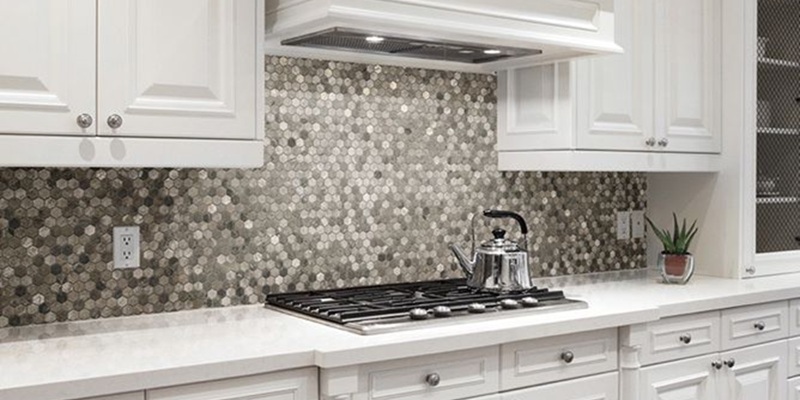
Natural Stone and Stainless Steel: The High-End Finish. For a luxurious, organic, or industrial look, natural stone (like marble, travertine, or slate) and stainless steel sheets command the highest prices, typically ranging from $15 to $50+ per square foot, with rare imports costing even more. These materials demand significant maintenance and expertise. Stone is naturally porous and requires pre-sealing to prevent the absorption of grease and grout haze. At the same time, metal must be installed with absolute precision to avoid dents and scratches. When calculating the total price to install a backsplash with these premium materials, be prepared for the material costs to eat up a significant portion of your renovation capital.
Labor Expenses: Professional Installers Vs. DIY Approach
While selecting the perfect subway tile or marble slab often dominates the design conversation, the invoice isn't settled at checkout. Materials represent only half of the equation; the expertise required to install them on your wall is the other half. The cost of a backsplash installation varies significantly depending on whether you hire a seasoned professional or attempt a weekend DIY project. This decision often defines the final quality of the renovation.
Professional Installation: Professional installation typically ranges between $10 and $40 per square foot. This rate is largely independent of material costs, though it varies with project complexity and geography. Intricate patterns such as herringbone or chevron, as well as complex materials such as stainless steel or small mosaics on a mesh backing, require significantly more time and precision than a standard grid layout. Hiring a pro ensures correct layout planning—avoiding awkward slivers of tile at the corners, proper outlet cuts, and professional-grade grout sealing. Contractors may also suggest premium options, such as epoxy grout for stain resistance, a material notoriously difficult for amateurs to apply correctly before it sets. Furthermore, for high-end materials such as marble or glass, the risk of breakage during cutting makes a contractor's liability coverage a crucial safeguard.
The DIY Route: The DIY route offers substantial labor savings but introduces tool acquisition costs and time commitments. A proper installation requires a wet saw (often a rental expense of approximately $50- $80/day), a tile cutter, a notched trowel, a grout float, mixing drills, and spacers. While saving $600 to $1,200 on labor is appealing, the learning curve is steep. Common rookie mistakes, such as uneven grout lines, poor adhesion, or hazy residue left on tiles, can ruin the aesthetic of expensive materials and lead to future water damage. Unless you have significant renovation experience, DIY is best reserved for simple ceramic subway tile installations and straightforward layouts where errors are less conspicuous.
The Real Cost To Replace Backsplash And Prep Walls
If you are renovating an existing kitchen rather than building a new one, you must account for the demolition phase before construction begins.
The cost to replace backsplash surfaces is not merely the price of new tile and installation; it also includes the labor-intensive removal of the old material. Contractors generally charge an hourly rate or a flat demolition fee for this service, adding $300 to $700 to the total project invoice, depending on the strength of the old adhesive and the square footage involved.
Removing tile is a violent process that often damages the drywall or plaster behind it. In many cases, the drywall is so compromised by the prying off of mortar that it must be cut out and replaced entirely. This adds a "hidden" layer of costs involving drywall sheets, taping, mudding, and priming before a single new tile can be set.
Waste-disposal fees for heavy ceramic debris can be buried in a contract's fine print. When calculating the total replacement backsplash cost, homeowners should include a contingency fund of approximately 15%-20% to cover structural surprises. Failing to properly prepare the wall can result in an uneven substrate, guaranteeing a flawed installation regardless of the tile's quality.
Smart Tips To Optimize Your Budget
Strategic planning can significantly reduce the overall cost of kitchen backsplash installation without compromising the renovation's visual impact. One effective strategy is the "focal point" approach. Instead of running expensive hand-painted tiles or quartzite slabs across the entire perimeter, use these premium materials only behind the range or stove—the kitchen's focal point. For the remaining stretches under cabinetry, switch to a complementary, lower-cost field tile that coordinates in color or texture.
Another avenue for savings is managing the design's height and complexity. Standard backsplashes rise 18 inches to the bottom of the cabinet. Extending tile to the ceiling creates visual impact but effectively doubles material and labor costs. Additionally, consider the placement of electrical outlets during the rough-in phase. Moving outlets to a plug mold under the upper cabinets eliminates the need for installers to make intricate, time-consuming cuts around sockets, speeding up the labor process and resulting in a cleaner, uninterrupted look. By simplifying the geometry and strategically placing high-value materials, you can achieve a luxury finish on a mid-range budget.
Maintenance And Durability: Investing For The Long Term
While sticking to the initial installation budget is crucial, the financial commitment does not end when the grout dries. A truly cost-effective renovation considers the total cost of ownership, a metric heavily influenced by maintenance requirements and material longevity.
For instance, natural stone offers a timeless, organic aesthetic but requires annual sealing and specialized pH-neutral cleaners to prevent etching and staining, which can increase lifetime costs over time.
Materials such as glass or glazed ceramic tile may carry a comparable upfront cost but require little more than a damp cloth for maintenance, effectively amortizing their value over decades of carefree use. According to data on home renovation returns and material lifecycles, choosing durable, low-maintenance materials significantly affects the long-term retained value of kitchen infrastructure.
Planning Your Next Steps
Installing a new kitchen backsplash is one of the most visually impactful upgrades a homeowner can make, blending protective functionality with style. Whether you are working with a strict DIY budget and using classic subway tiles or investing in intricate, artisanal stone mosaics, a polished aesthetic is achievable across the financial spectrum. Success lies in meticulous planning, understanding labor nuances, and selecting materials that align with your lifestyle. Now that you have a comprehensive cost breakdown, the next step is to solicit detailed quotes from qualified local contractors or visit a showroom to begin your project.